
Your driver takes a beating every round. A little cleaning, smart storage, and timely re-gripping keep it performing like new and save you money over time. Here is everything you need to know.
Key Takeaways
- Clean your driver regularly for optimal performance and longevity
- Store and transport the driver properly to prevent damage
- Replace grips when needed for better control and consistency
Proper Cleaning and Maintenance of Your Driver
Importance of Regular Cleaning
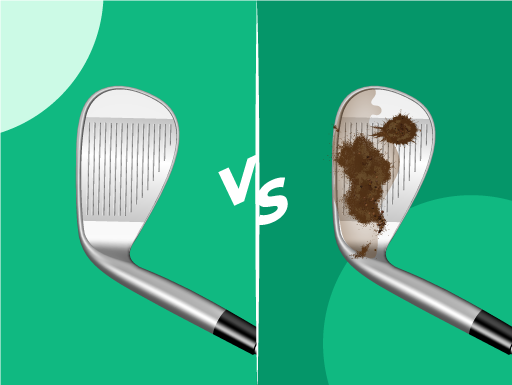
Regular cleaning of your driver is vital for maintaining its performance and preventing damage. Dirt, grass, and debris can accumulate on the driver head, grooves, and shaft, potentially affecting the club's ability to make solid contact with the ball. Additionally, neglecting to clean your driver can lead to the buildup of rust and corrosion, which can compromise the club's structural integrity over time.
Step-by-Step Guide to Cleaning Your Driver
To keep your driver in optimal condition, follow these steps to clean the head, grooves, and shaft:
- Fill a bucket or basin with warm, soapy water. Mild dish soap is sufficient for this task.
- Dip a soft-bristle brush or an old toothbrush into the soapy water and gently scrub the driver head and grooves to remove dirt and debris. Be sure to clean both the front and back of the clubhead.
- For stubborn dirt or debris in the grooves, you can use a tee or a specialized groove-cleaning tool to dislodge any remaining particles carefully.
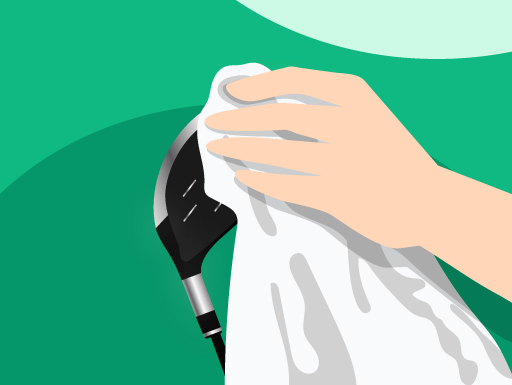
- Once the clubhead is clean, wipe down the shaft with a damp cloth, removing dirt or grime.
- Dry the driver thoroughly with a clean towel, ensuring no moisture remains on the clubhead or shaft.
- Inspect the driver for any signs of damage or wear, such as scratches, dents, or rust. If you notice any issues, consider seeking professional advice for repair or replacement.
Recommendations for Cleaning Products and Tools
To properly clean and maintain your driver, consider investing in the following products and tools:
- A soft-bristle brush or old toothbrush for scrubbing the clubhead and grooves
- Mild dish soap for creating a cleaning solution
- A bucket or basin for holding warm, soapy water
- A clean, damp cloth for wiping down the shaft
- A clean, dry towel for drying the driver
- A specialized groove-cleaning tool for removing stubborn debris from grooves
By using the appropriate cleaning products and tools, you can ensure that your driver stays in excellent condition, helping to maintain its performance and extend its lifespan.
Best Practices for Storing Your Driver
Proper Storage for Driver Protection
Storing your driver correctly is crucial for protecting it from damage and ensuring it lasts as long as possible. Proper storage involves considering factors such as temperature, humidity, and location to create an environment that is gentle on your club and helps maintain its performance.
Ideal Storage Conditions
When storing your driver, aim to create the following conditions:
- Temperature: Keep your driver in a cool, dry place, away from direct sunlight or extreme temperatures. Exposure to excessive heat or cold can cause the materials in your driver to expand or contract, potentially leading to damage.
- Humidity: Store your driver in an area with low humidity to prevent the development of rust and corrosion on metal components. If you live in a humid climate, consider using a dehumidifier in the storage space or placing moisture-absorbing packets in your golf bag.
- Location: Ensure your driver is stored off the ground, ideally in a golf bag with club dividers to prevent contact with other clubs. This helps protect the clubhead and shaft from scratches, dents, and further damage caused by rubbing against other clubs.
Tips for Transporting and Protecting Your Driver
When taking your driver on and off the course, follow these tips to keep it protected:
- Use a driver headcover to shield the clubhead from dirt, debris, and potential damage during transport. Remove the headcover during play to avoid moisture buildup, and ensure it is dry before replacing it after your round.
- Secure your driver within your golf bag using club dividers and compartments designed to hold clubs in place. This helps prevent your driver from moving around and clashing with other clubs during transport.
- Handle your driver carefully, avoiding aggressive movements or actions that could cause damage. When placing your driver back into your bag, do so gently to minimize the risk of scratches or dents.
By following these best practices for storing and transporting your driver, you can safeguard it from damage and extend its lifespan, allowing you to enjoy its performance for many rounds.
Re-gripping Your Driver: When and How
Signs That It's Time to Replace Your Driver Grip
Over time, your driver's grip can become worn, slick, or damaged, impacting your ability to hold the club securely and consistently. Some signs that it's time to replace your driver grip include:
- Noticeable wear or slickness on the grip's surface
- Cracks or splits in the grip material
- A loose or slipping grip during swings
- Reduced comfort or increased hand fatigue when gripping the club
Benefits of a Fresh Grip
Investing in a new grip for your driver can provide several benefits, including:
- Improved control: A new grip offers better traction, allowing you to maintain a secure hold on the club during your swing.
- Consistency: A well-fitting, high-quality grip can help promote a consistent swing by reducing the need to adjust your grip pressure during the swing.
- Comfort: Replacing a worn or damaged grip can enhance comfort, potentially reducing hand fatigue and allowing you to play longer rounds with less discomfort.
Step-by-Step Guide to Re-gripping Your Driver
To re-grip your driver, follow these steps:
- Remove the old grip by cutting it off carefully with a utility knife or grip removal tool.
- Clean the shaft area where the grip was removed, using grip solvent or rubbing alcohol to remove any remaining adhesive or residue.
- Apply double-sided grip tape to the cleaned shaft area, leaving an extra half-inch of tape extending beyond the butt end of the shaft.
- Pour grip solvent over the taped area and inside the new grip, ensuring the entire surface is coated.
- Align the grip's pattern or logo with the clubface and slide it onto the shaft, pushing it firmly until it is fully seated.
- Adjust the grip's alignment, if necessary, and allow the grip to dry for at least a few hours before using the driver.
Tips for Choosing the Right Grip
When selecting a new grip for your driver, consider the following factors:
- Size: Choose a grip size that fits your hand comfortably and allows for proper grip pressure. Grips come in various sizes, including standard, midsize, and oversize.
- Material: Grips are available in different materials, such as rubber, cord, or synthetic materials, each offering unique benefits in terms of traction, durability, and feel.
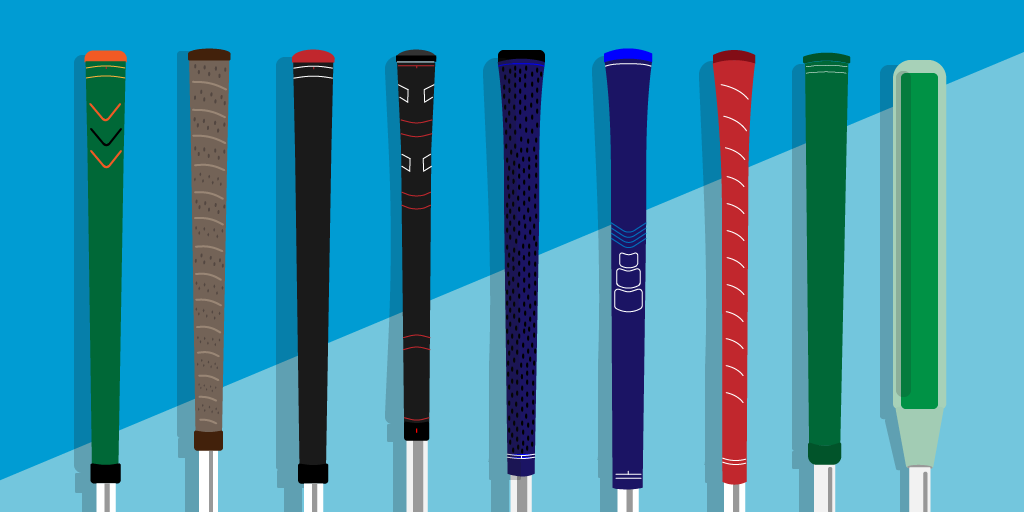
- Texture: Select a grip texture based on your preference for traction and comfort. Some grips have a smooth surface, while others may feature patterns, ridges, or cord elements for enhanced grip.
By regularly assessing and updating your driver's grip, you can enjoy the benefits of improved control, consistency, and comfort, ultimately enhancing your overall performance on the golf course.
Conclusion
Clean it after every round, store it in a cool dry spot, and swap the grip once it starts slipping. Those three habits keep your driver performing at its best for years.